From help.computerisms.ca
Jump to navigation
Jump to search
|
|
| Line 17: |
Line 17: |
| | | | | |
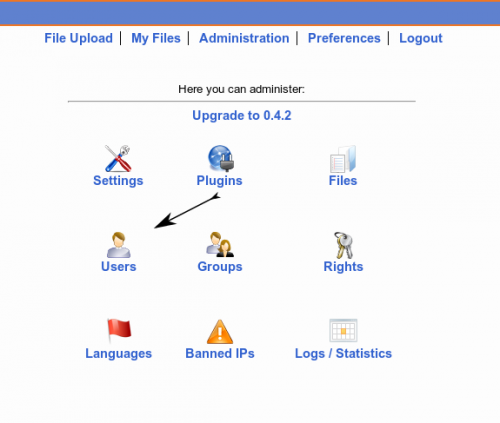
| *Select the User icon | | *Select the User icon |
| |[[ | | |[[File:Help.fetch.admin.menu.png|center|500px]] |
| |- | | |- |
| |[[ | | |[[File:Help.fetch.first.menu.png|center|500px]] |
| | | | | |
| *Click the Add User icon | | *Click the Add User icon |
Revision as of 21:51, 16 July 2012
- The Computerisms mail server will reject any mails larger than 10 MB, this utility will let you send those files with ease
- This application maintains its own independent database of users and passwords.
Setting up the Computerisms Large File Transfer Utility for the first time
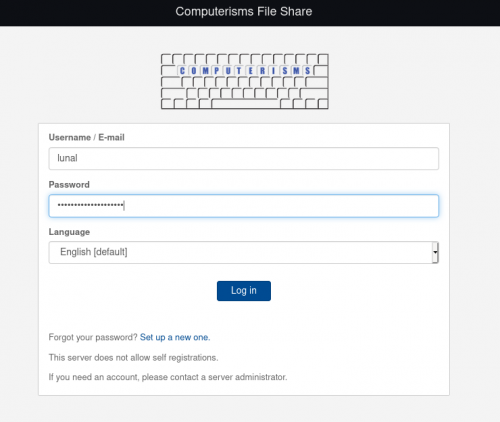
- Go to https://fetch.domain.tld and accept the Security Certificate
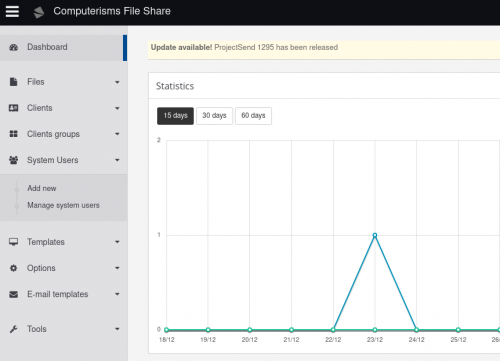
- Enter the Administrative Email address as User name, the associated email password, and click Login
- The Administrative Email address and its password will be supplied to you when we contact you to let you know your domain is set up
|

|

|
- In the next window, click the Administration link
|
|
|

|

|
|
- Set the login name
- Note this does not have to be in the format of an email address
- The advantage to using an email address as a login name is your users will not have to remember a different login name for this service.
- Set the Password
- You can set the password to be the same as the user's email password, butt updating the email password will not update this password
- Enter the user's Full Name
- Enter the user's Email Address
- Set the Group for this user:
- Administrator's Group will allow this user to add new users and modify the system
- Registered Users Group will allow the user to log in and upload files to be delivered to other users
- Unregistered Users are not used by default
- If the user's preferred language is not English, set it here
- Ensure the Active setting is selected, and press the Add button
- Rinse and Repeat for every user on your network that will need to send large files
|
[[
|


