Roundcube: Difference between revisions
Jump to navigation
Jump to search
| (One intermediate revision by the same user not shown) | |||
| Line 176: | Line 176: | ||
|[[File:help.rc.new.filter.png|center|500px]] | |[[File:help.rc.new.filter.png|center|500px]] | ||
| | | | ||
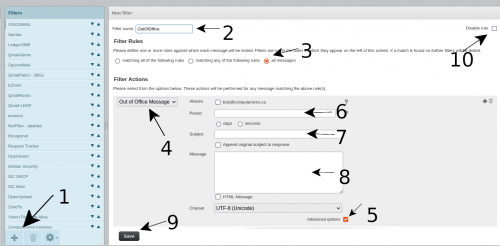
#Click the Plus sign to add a new filter | |||
#Pick a Name, if you don't know what to put call it OutOfOffice | |||
#Make this rule apply to all messages | |||
#Select the filter type to be Out of Office Message | |||
#Select the Advanced Option checkbox | |||
#Fill in the Period and select days/seconds. This dictates how often to send the response, typically you will set this to the number of days you intend to be away so that any given person gets only one out of office response from you. | |||
#Fill in the subject of the mail that you will send in your auto-response | |||
#Fill in the body of the message, for example other people to contact, return date, etc... | |||
#When Everything is to your satisfaction, click the Save button | |||
#When you return, select the disable rule check box in the top right corner | |||
##When you next need to set up an OutOfOffice response, uncheck that box, adjust your subject and message, and click save | |||
|- | |- | ||
|} | |} | ||
Latest revision as of 17:34, 31 August 2022
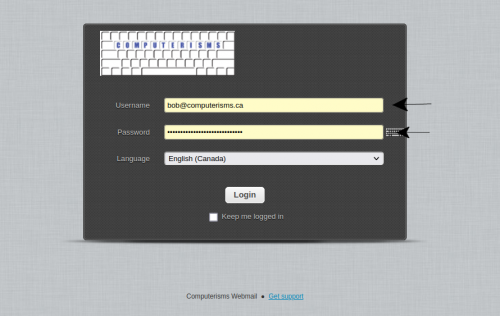
- To check your email using Roundcube, all you need to do is login
- There is no need to configure anything in order to send or receive mail using RoundCube
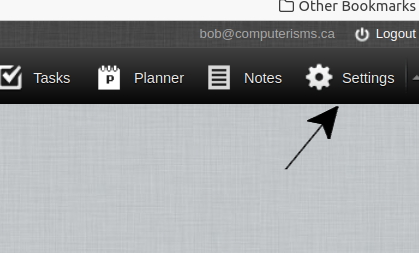
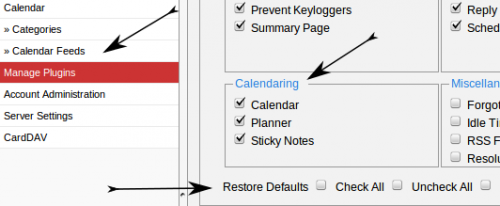
Getting StartedBefore you start using RoundCube, you should configure the plugins to your requirements:
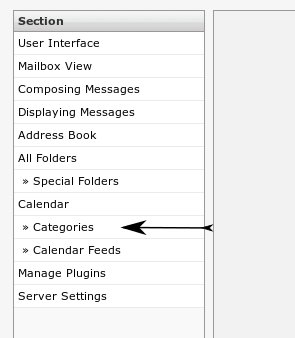
CalendarNOTE: These instructions are slightly out of date; the settings are correct but you will have to look around to find them till I update this page
Before you begin:
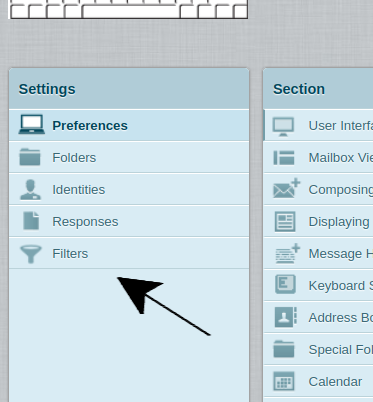
Server Side Message Filtering
Extra Notes
|
