How to set up Calendars in iCal: Difference between revisions
Jump to navigation
Jump to search
(Created page with "*Run the Apple iCal/Calendar application") |
No edit summary |
||
| Line 1: | Line 1: | ||
*Run the Apple iCal/Calendar application | *Run the Apple iCal/Calendar application [[File:Screen_Shot_2014-11-17_at_2.32.34_PM.png|60px|]] | ||
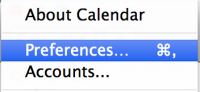
*In the menu, select '''iCal/Calendar''' → '''Preferences''' [[File:Screen_Shot_2014-11-17_at_2.37.54_PM.png|200px|]] | |||
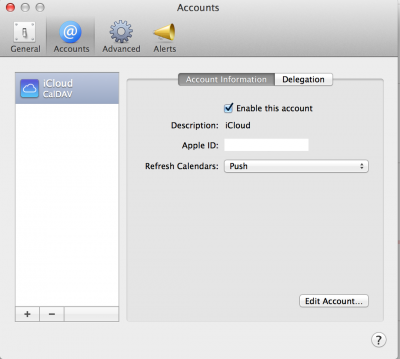
*go to tab '''Accounts''' | |||
*Click on the '''+''' button to create a new account [[File:Screen_Shot_2014-11-17_at_2.39.05_PM.png|center|400px|]] | |||
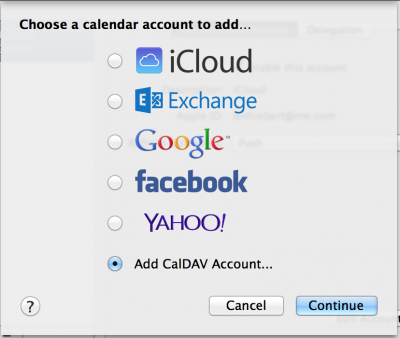
*Choose '''Add CalDav Account...''' [[File:Screen_Shot_2014-11-17_at_2.39.28_PM.png|center|400px|]] | |||
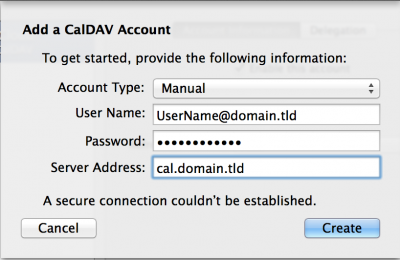
*Choose Account Type: '''Manual''' | |||
*Type your User Name, Password and Server Address [[http://help.computerisms.ca/index.php/Domain_Substitution domain.tld]][[File:Screen_Shot_2014-11-17_at_2.46.01_PM.png|center|400px|]] | |||
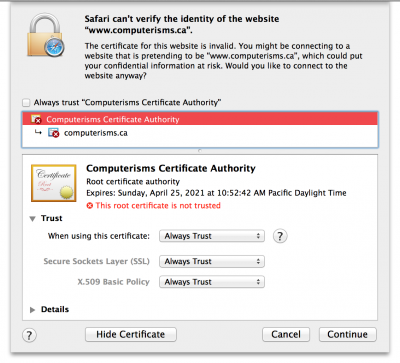
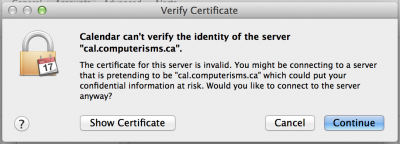
*Next you need Verify Certificate | |||
*Choose '''Show Certificate''' [[File:Screen_Shot_2014-11-17_at_2.49.27_PM.png|center|400px|]] | |||
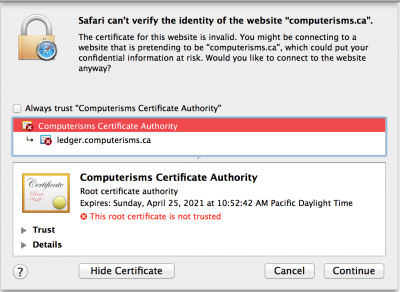
*Choose '''Trust''' [[File:Screen_Shot_2014-11-17_at_2.53.20_PM.png|center|400px|]] | |||
*Choose '''Always trust''' [[File:Screen_Shot_2014-11-17_at_2.53.41_PM.png|center|400px|]] | |||
Revision as of 20:06, 17 November 2014
- Run the Apple iCal/Calendar application

- In the menu, select iCal/Calendar → Preferences
- go to tab Accounts
- Click on the + button to create a new account
- Choose Add CalDav Account...
- Choose Account Type: Manual
- Type your User Name, Password and Server Address [domain.tld]
- Next you need Verify Certificate
- Choose Show Certificate
- Choose Trust
- Choose Always trust