Thunderbird: Difference between revisions
Jump to navigation
Jump to search
| Line 20: | Line 20: | ||
| | | | ||
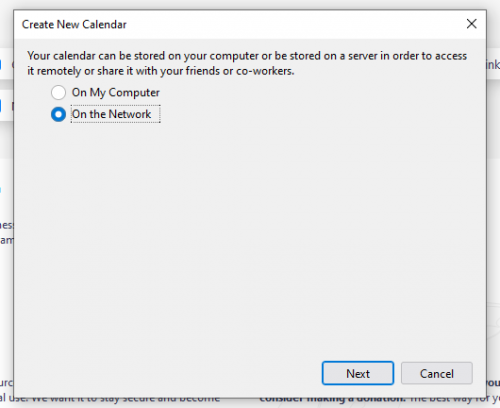
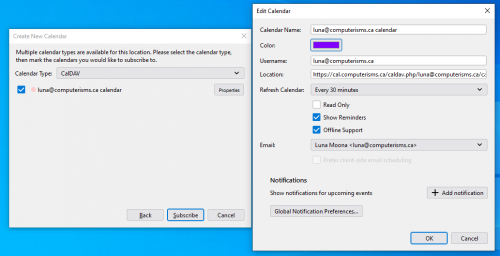
*In the next window, ensure under format that Caldav is selected | *In the next window, ensure under format that Caldav is selected | ||
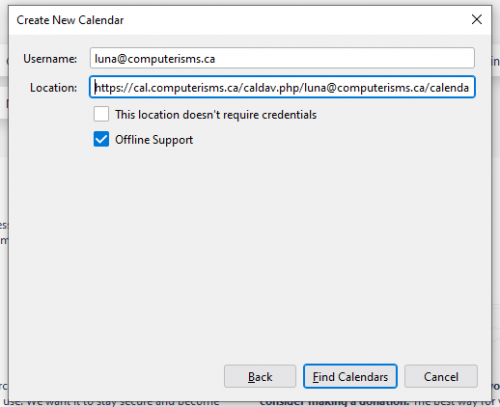
* | *The value you need to enter for Location consists of two parts | ||
**The first part is based on your domain name in the format [[Domain Substitution|https://cal.domain.tld]] | |||
**The second part is your DAV Path as derived from configuring your [[Calendar]] | |||
**If you are connecting to someone else's calendar, you will need to use the [[Calendar#I Need My Assistant To Edit My Calendar|DAV Path]] they provide you | |||
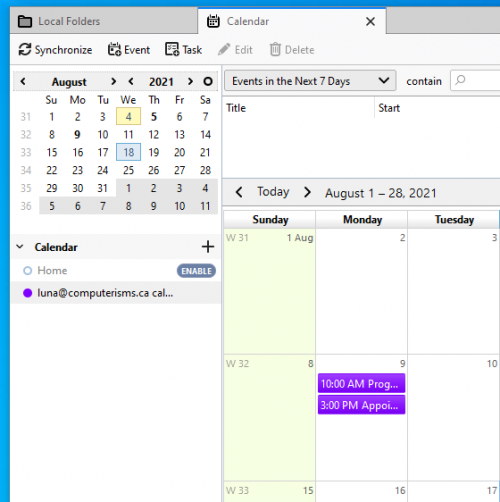
**The full value will look like this: [[Domain Substitution|https://cal.domain.tld/caldav.php/bob@computerisms.ca/calendar]] | **The full value will look like this: [[Domain Substitution|https://cal.domain.tld/caldav.php/bob@computerisms.ca/calendar]] | ||
*Put a check mark beside Cache if you want to be able to read your calendars when you are not connected to the internet | *Put a check mark beside Cache if you want to be able to read your calendars when you are not connected to the internet | ||
Revision as of 22:28, 16 July 2012
Calendar
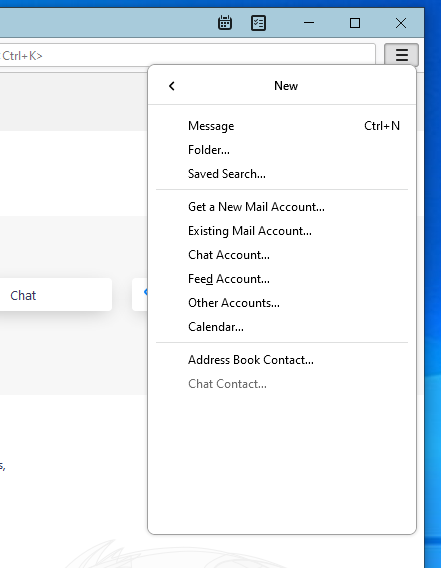
Before you begin:
- You will need to have the lightning plugin installed in thunderbird
- You will need the DAV Path found on the server or the DAV Path from some else's Calendar
|
 |
 |
|
|
 |
 |
|
|
 |
 |
|
|
 |
 |
|