From help.computerisms.ca
Jump to navigation
Jump to search
- Setting up Shared Address Books is a two part process
- First, you must log into the server interface to create the address books and grant permission to other user to access them
- The act of logging in will create a default calendar and address book for that user.
- It is required that a user log in before he can be granted permissions to any address books
- Then you need to configure your CardDAV client to access the address books you created
- There is no web interface for the address books, you must access them through a client such as thunderbird or webmail.
- This interface is a little bit overwhelming at first, but so is the number of things you can do with it
- This page will not show you everything you can do, but it should show you some of the basic functions without making you learn all there is to know.
I Just Want an Address Book That All My Devices Will Sync With
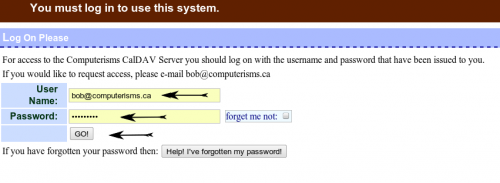
- Go to https://cal.domain.tld and accept the Security Certificate warning
- Login with your email address as your User Name and your email password for Password and click Go
|
|
|
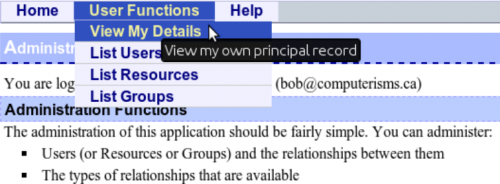
*Ignore the contents of this page for now, at the top of the page, put your mouse on UserFunctions and then select "View My Details"
|
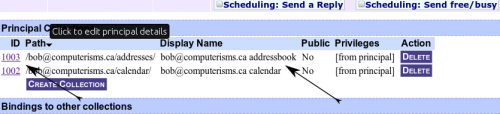
- Scroll down and find the blue bar labelled Principal Collections
- Identify under Display Name which line corresponds to your address book (not your calendar).
- Click the link in the left most column on the identified line. It will be a four or five digit number.
|
|

|
- Near the top of the page, take note of the value for DAV Path
- You will need this information to set up your devices, so either highlight and copy this or write it down.
|
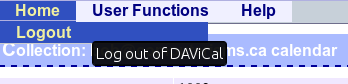
- To be safe, always log out when you are finished
- Proceed with setting up your calendar clients
|
|


