From help.computerisms.ca
Jump to navigation
Jump to search
Email
- To check your email using Roundcube, all you need to do is login
- There is no need to configure anything in order to send or receive mail using RoundCube
|
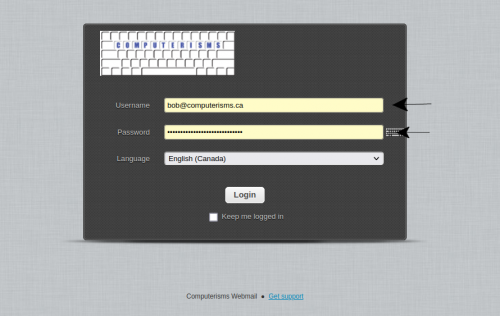
- Open your browser and navigate to https://rc.domain.tld
- Enter your email address in the Username field
- Enter your email password in the Password field
- If you prefer a language other than English, select it from the list
- Click the login Button
|
Calendar
Before you begin:
- Open your browser and navigate to https://rc.domain.tld
- Enter your email address in the Username field
- Enter your email password in the Password field
- If you prefer a language other than English, select it from the list
- Click the login Button
|
|
|
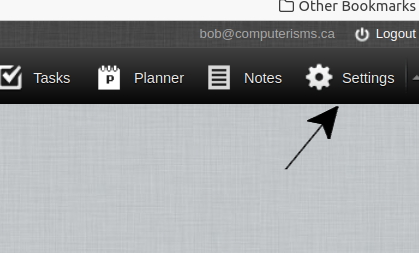
- In the next window, find in the top right corner the link called "Settings"
|
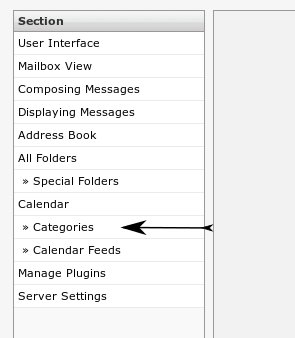
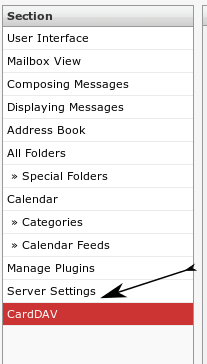
- In the next window on the far left side, under the main category "Calendar", click the sub-category "Categories"
|
|
|
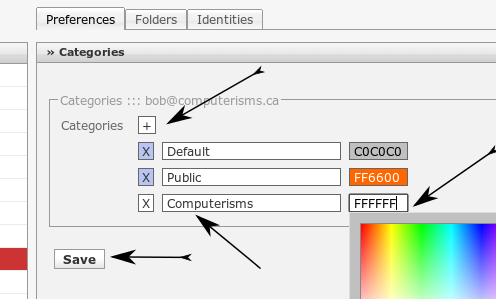
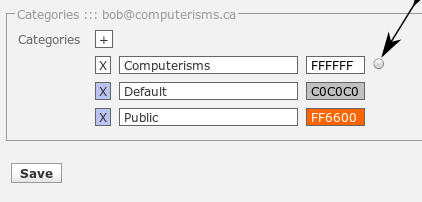
- In the main pane of the window, click the plus sign. This will create a new line at the bottom of the list
- Click in the longest field of the new line and enter a name for your calendar
- The name is arbitrary, so it can be anything you like, though normally you would choose a name that has meaning for you.
- If you wish to change the colour of your calendar, click in the box containing FFFFFF, then click on the colour you would like for your calendar
- Click the Save Button
|
- After you click save, the list will reorder alphabetically
- Click the little round button next to the calendar you just created
|
|
|
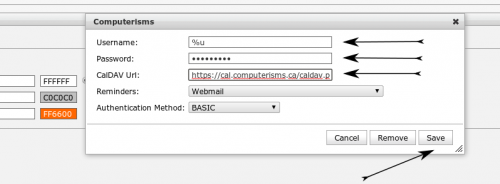
- In the Username field you will find the value "%u"
- %u is a short cut for the username you used to log into Roundcube, which will be the same as your email address
- Enter your Email Password
- The value you need to enter for "CalDAV Url" consists of two parts
- Unless you know why you should do otherwise, leave "Reminders" and "Authentication Method" settings at their default
- Click the Save Button
|
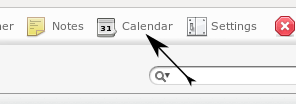
- To start using your calendar, click the Calendar link in the top right corner of the window
|
|
Shared Address Book
Before you begin:
- Open your browser and navigate to https://rc.domain.tld
- Enter your email address in the Username field
- Enter your email password in the Password field
- If you prefer a language other than English, select it from the list
- Click the login Button
|
|
|
|
- In the next window, find in the top right corner the link called "Settings"
|
- In the next window on the far left side, click the category called "CardDAV"
|
|
|
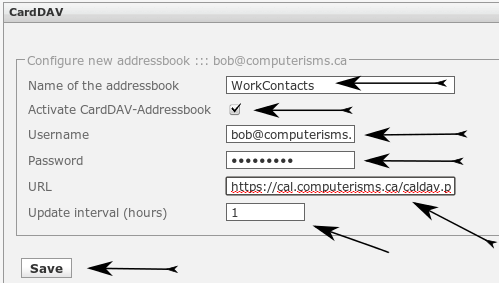
- In the main pane of the window, enter a name for your address book
- The name is arbitrary, so it can be anything you like, usually something meaningful to you.
- The address book name must not contain a space
- Ensure "Activate CardDAV-Addressbook" is selected
- Enter your email address as your Username
- Enter your email password as Password
- The value you need to enter for URL consists of two parts
- The update interval can be increased if you like
- 1 is the minimum acceptable value for this field
- When everything is how you want it, click save
|
- After you click save, you will be given the opportunity to add another address book if you want to.
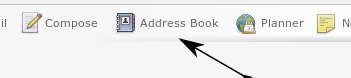
- In order to use your new address book, click on the Address Book link in the top right of the window
|
|
|
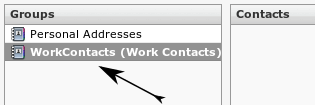
- Ensure your CardDAV address book is selected, and you will be able to view and add contact entries to your Shared Address Book
|
Server Side Message Filtering


